Get Ready for the 2023 & 2024 U.S. Solar Eclipses!
by
No matter what your field of study, you probably remember the excitement of the 2017 total solar eclipse, which was the first in the US in nearly four decades. Tens of millions of people traveled to the path of totality, and the rest of the country saw a partial solar eclipse. Now we are approaching an even more exciting, back-to-back pair of US eclipses (shown on the map above):
- Saturday, Oct. 14, 2023: The “warm-up” event: An annular solar eclipse, in which the Moon will not quite fully block the Sun (so that the Moon will be surrounded by a ring, or annulus, of sunlight).
- Monday, April 8, 2024: The big event: A total solar eclipse following a path from Mexico up through Texas and toward the northeast. More than 30 million people live within the path of totality, and nearly half the U.S. population resides within a about a 5-hour drive of the path.
Both eclipses will provide a great opportunity for educators everywhere — and in all disciplines — to take advantage of the excitement to promote education and outreach. The “all disciplines” comes about because eclipses are truly interdisciplinary events. For example, besides the obvious connection to astronomy, eclipses involve mathematics and statistics (in modeling how they occur and doing the necessary calculations to predict and understand them), social sciences and history (in considering the many impacts that eclipses have had on human civilization), the arts (prose, poetry, music, painting), and much more.
This means that it is time to start planning for how you will take advantage of this great opportunity. For those of you teaching at the college level, consider taking the following four steps:
- Be sure you know where you are located relative to the eclipse paths. You can do this using the free app “Totality by Big Kid Science”, which you can download from the iOS or Android app stores. Based on your location, decide whether you will plan to stay put or travel to the eclipse paths.
- Also use the app to find the local time for each of the eclipses, and critically important: Because the total eclipse is on a Monday (April 8, 2024), ask your college to ensure that all students, faculty, and employees can be outside throughout the local eclipse. (The annular eclipse on 10/14/23 is a Saturday, so it should pose less of an issue.)
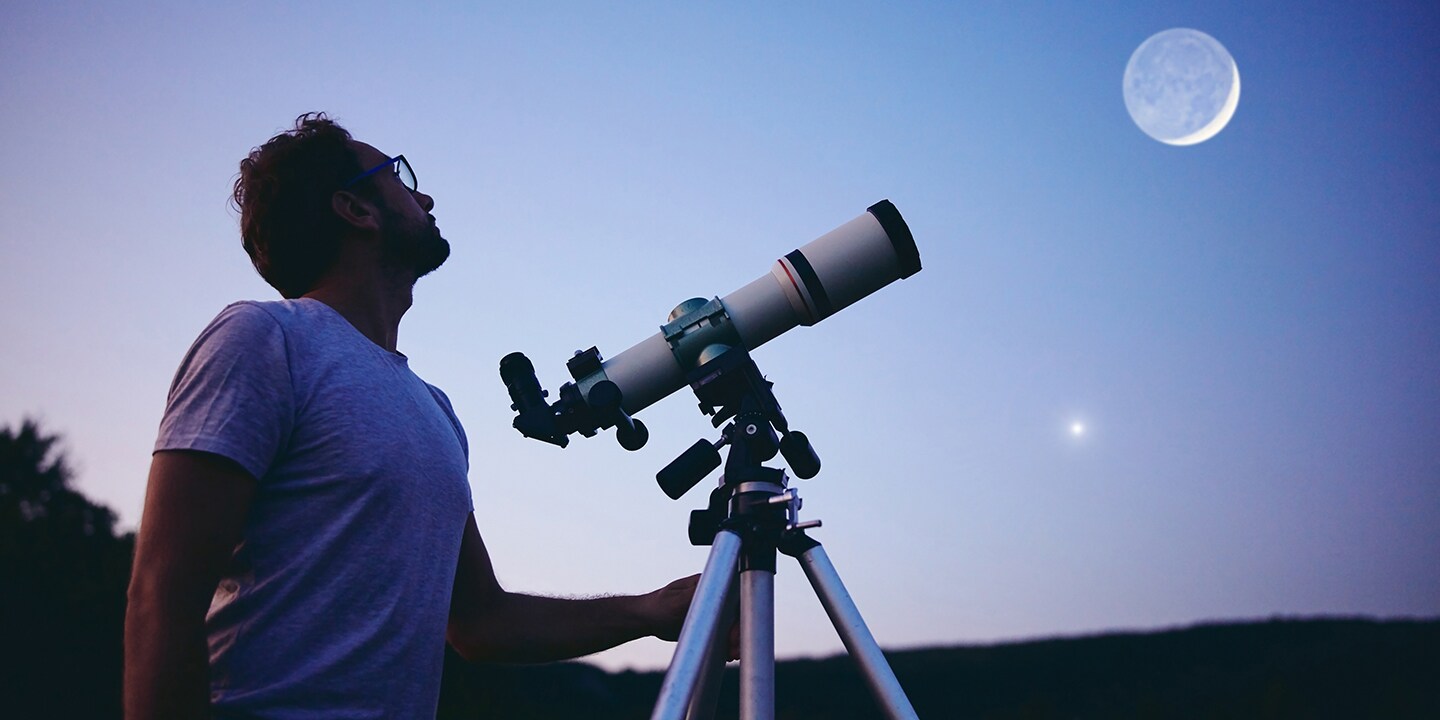
- Plan campus events for the eclipses. Most people find it more fun to watch the eclipse as part of a large group, plus this means you can have speakers to help explain what is happening (and how to watch safely) and to make interdisciplinary connections. You should also have your astronomy department (or anyone else with the necessary equipment) set up telescopes with solar filters for solar viewing.
Note: It is very important to emphasize safe viewing of the eclipse; it will be very helpful if your campus can provide eclipse glasses for the event, but be sure you get the glasses only from a vendor that has been approved by the American Astronomical Society (see the “approved vendor list”). - Look for outreach opportunities to ensure that the educational potential of the eclipses will be realized throughout your local community. For example, you might create a temporary “eclipse outreach club” that will give college students an opportunity to share their understanding and enthusiasm with local schools.
Want to learn more? If you are teaching astronomy, be sure to see our updated section on eclipses in Chapter 2 of the new, 10th edition of The Cosmic Perspective.
read more