GO! Microsoft Office 365: Introductory 2019, 1st edition

  • Shelley Gaskin, 
  • Alicia Vargas, 
  • Debra Geoghan, 
  • Nancy Graviett

Your access includes:

  • Search, highlight, notes, and more
  • Easily create flashcards
  • Use the app for access anywhere
  • 14-day refund guarantee

$10.99per month

Minimum 4-month term, pay monthly or pay $43.96 upfront

Learn more, spend less

  • Study simpler and faster

    Use flashcards and other study tools in your eTextbook

  • Watch and learn

    Videos & animations bring concepts to life

  • Listen on the go

    Learn how you like with full eTextbook audio

  • Find it fast

    Quickly navigate your eTextbook with search

  • Stay organized

    Access all your eTextbooks in one place

Overview

A trusted source for over 20 years, the GO! series will help you master Microsoft 365. You'll gain workplace skills by completing instructional projects that offer a learn-by-doing approach. With the additional outcomes-based and critical thinking projects provided, you'll practice using Office 365 apps to solve real-world business problems. The text's easy-to-follow instructions will keep you on track, and author Shelley Gaskin will guide you with tips and instruction, right when they're needed most.

Updated to Office 365, GO! with Microsoft® Office 365®, 2019 Edition, Introductory adds tips for Mac users, revised instructional projects and improved coverage to help you grasp the what, why, and how of skills application. The text is compatible with Access 2019.

Published by Pearson (September 18th 2020) - Copyright © 2020

ISBN-13: 9780136874553

Subject: Microsoft Office Applications

Category: GO! with Microsoft Office 365, 2019 Edition Introductory

Overview

MICROSOFT OFFICE

  • Chapter 1: Microsoft Office Common Features and Windows 10 Features and File Management
    1. Explore Microsoft Office
    2. Create a Folder for File Storage
    3. Download and Extract Zipped Files and Enter, Edit, and Check the Spelling of Text in an Office Program
    4. Perform Office Commands and Apply Office Formatting
    5. Finalize an Office Document
    6. Use the Office Help Features
    7. Explore Windows 10
    8. Prepare to Work with Folders and Files
    9. Use File Explorer to Extract Zipped Files and to Display Locations, Folders, and Files
    10. Start Programs and Open Data Files
    11. Create, Rename, and Copy Files and Folders

WORD

  • Introducing Microsoft Word 2019
  • Chapter 1: Creating Documents with Microsoft Word
    1. Create a New Document and Insert Text
    2. Insert and Format Graphics
    3. Insert and Modify Text Boxes and Shapes
    4. Preview and Print a Document
    5. Change Document and Paragraph Layout
    6. Create and Modify Lists
    7. Set and Modify Tab Stops
    8. Insert a SmartArt Graphic and an Icon
  • Chapter 2: Creating Cover Letters and Using Tables to Create Resumes
    1. Create a Table for a Resume
    2. Format a Table
    3. Present a Word Document Online
    4. Create a Letterhead for a Cover Letter
    5. Create a Cover Letter and Correct and Reorganize Text
    6. Use the Word Editor to Check Your Documents
    7. Print an Envelope, Change Style Sets, Create a Word Template and Use Learning Tools
  • Chapter 3: Creating Research Papers, Newsletters, and Merged Mailing Labels
    1. Create a Research Paper
    2. Insert Footnotes in a Research Paper
    3. Create Citations and a Bibliography in a Research Paper
    4. Use Read Mode and PDF Reflow
    5. Format a Multiple-Column Newsletter
    6. Use Special Character and Paragraph Formatting
    7. Create Mailing Labels Using Mail Merge

EXCEL

  • Introducing Microsoft Excel 2019
  • Chapter 1: Creating a Worksheet and Charting Data
    1. Create, Save, and Navigate an Excel Workbook
    2. Enter Data in a Worksheet
    3. Construct and Copy Formulas and Use the SUM Function
    4. Format Cells with Merge & Center, Cell Styles, and Themes
    5. Chart Data to Create a Column Chart and Insert Sparklines
    6. Print a Worksheet, Display Formulas, and Close Excels
    7. Check Spelling in a Worksheet
    8. Enter Data by Range
    9. Construct Formulas for Mathematical Operations
    10. Edit Values in a Worksheet
    11. Format a Worksheet
  • Chapter 2: Using Functions, Creating Tables, and Managing Large Workbooks
    1. Use Flash Fill and the SUM, AVERAGE, MEDIAN, MIN, and MAX Functions
    2. Move Data, Resolve Error Messages, and Rotate Text
    3. Use COUNTIF and IF Functions and Apply Conditional Formatting
    4. Use Date & Time Functions and Freeze Panes
    5. Create, Sort, and Filter an Excel Table
    6. View, Format, and Print a Large Worksheet
    7. Navigate a Workbook and Rename Worksheets
    8. Enter Dates, Clear Contents, and Clear Formats
    9. Copy and Paste by Using the Paste Options Gallery
    10. Edit and Format Multiple Worksheets at the Same Time
    11. Create a Summary Sheet with Column Sparklines
    12. Format and Print Multiple Worksheets in a Workbook
  • Chapter 3: Analyzing Data with Pie Charts, Line Charts, and What-If Analysis Tools
    1. Chart Data with a Pie Chart
    2. Format a Pie Chart
    3. Edit a Workbook and Update a Chart
    4. Use Goal Seek to Perform What-If Analysis
    5. Design a Worksheet for What-If Analysis
    6. Answer What-If Questions by Changing Values in a Worksheet
    7. Chart Data with a Line Chart

ACCESS

  • Introduction to Microsoft Access 2019
  • Chapter 1: Getting Started with Microsoft Access 2019
    1. Identify Good Database Design
    2. Create a Table and Define Fields in a Blank Desktop Database
    3. Change the Structure of Tables and Add a Second Table
    4. Create a Query, Form, and Report
    5. Close a Database and Close Access
    6. Use a Template to Create a Database
    7. Organize Objects in the Navigation Pane
    8. Create a New Table in a Database Created with a Template
    9. View a Report
  • Chapter 2: Sort and Query a Database
    1. Open and Save an Existing Database
    2. Create Table Relationships
    3. Sort Records in a Table
    4. Create a Query in Design View
    5. Create a New Query From an Existing Query
    6. Sort Query Results
    7. Specify Criteria in a Query
    8. Specify Numeric Criteria in a Query
    9. Use Compound Criteria in a Query
    10. Create a Query Based on More Than One Table
    11. Use Wildcards in a Query
    12. Create Calculated Fields in a Query
    13. Calculate Statistics and Group Data in a Query
    14. Create a Crosstab Query
    15. Create a Parameter Query
  • Chapter 3: Forms, Filters, and Reports
    1. Create and Use a Form to Add and Delete Records
    2. Filter Records
    3. Create a Form by Using the Form Wizard
    4. Modify a Form in Layout View and in Design View
    5. Create a Report by Using the Report Tool and Modify the Report in Layout View
    6. Create a Report by Using the Report Wizard
    7. Modify the Design of a Report
    8. Keep Grouped Data Together in a Printed Report

POWERPOINT

  • Introducing Microsoft PowerPoint 2019
  • Chapter 1: Getting Started with Microsoft PowerPoint
    1. Create a New Presentation
    2. Edit a Presentation in Normal View
    3. Add Pictures to a Presentation
    4. Print and View a Presentation
    5. Edit an Existing Presentation
    6. Format a Presentation
    7. Use Slide Sorter View
    8. Apply Slide Transitions
  • Chapter 2: Formatting PowerPoint Presentations
    1. Format Numbered and Bulleted Lists
    2. Insert Online Pictures
    3. Insert Text Boxes and Shapes
    4. Format Objects
    5. Remove Picture Backgrounds and Insert WordArt
    6. Create and Format a SmartArt Graphic
  • Chapter 3: Enhancing a Presentation with Animation, Video, Tables, and Charts
    1. Customize Slide Backgrounds and Themes
    2. Animate a Slide Show
    3. Insert a Video
    4. Create and Modify Tables
    5. Create and Modify Charts

INTEGRATED PROJECTS

  • Chapter 1: Integrating Word, Excel, Access, and PowerPoint

Your questions answered

Pearson+ is your one-stop shop, with eTextbooks and study videos designed to help students get better grades in college.

A Pearson eTextbook is an easy‑to‑use digital version of the book. You'll get upgraded study tools, including enhanced search, highlights and notes, flashcards and audio. Plus learn on the go with the Pearson+ app.

Your eTextbook subscription gives you access for 4 months. You can make a one‑time payment for the initial 4‑month term or pay monthly. If you opt for monthly payments, we will charge your payment method each month until your 4‑month term ends. You can turn on auto‑renew in My account at any time to continue your subscription before your 4‑month term ends.

When you purchase an eTextbook subscription, it will last 4 months. You can renew your subscription by selecting Extend subscription on the Manage subscription page in My account before your initial term ends.

If you extend your subscription, we'll automatically charge you every month. If you made a one‑time payment for your initial 4‑month term, you'll now pay monthly. To make sure your learning is uninterrupted, please check your card details.

To avoid the next payment charge, select Cancel subscription on the Manage subscription page in My account before the renewal date. You can subscribe again in the future by purchasing another eTextbook subscription.

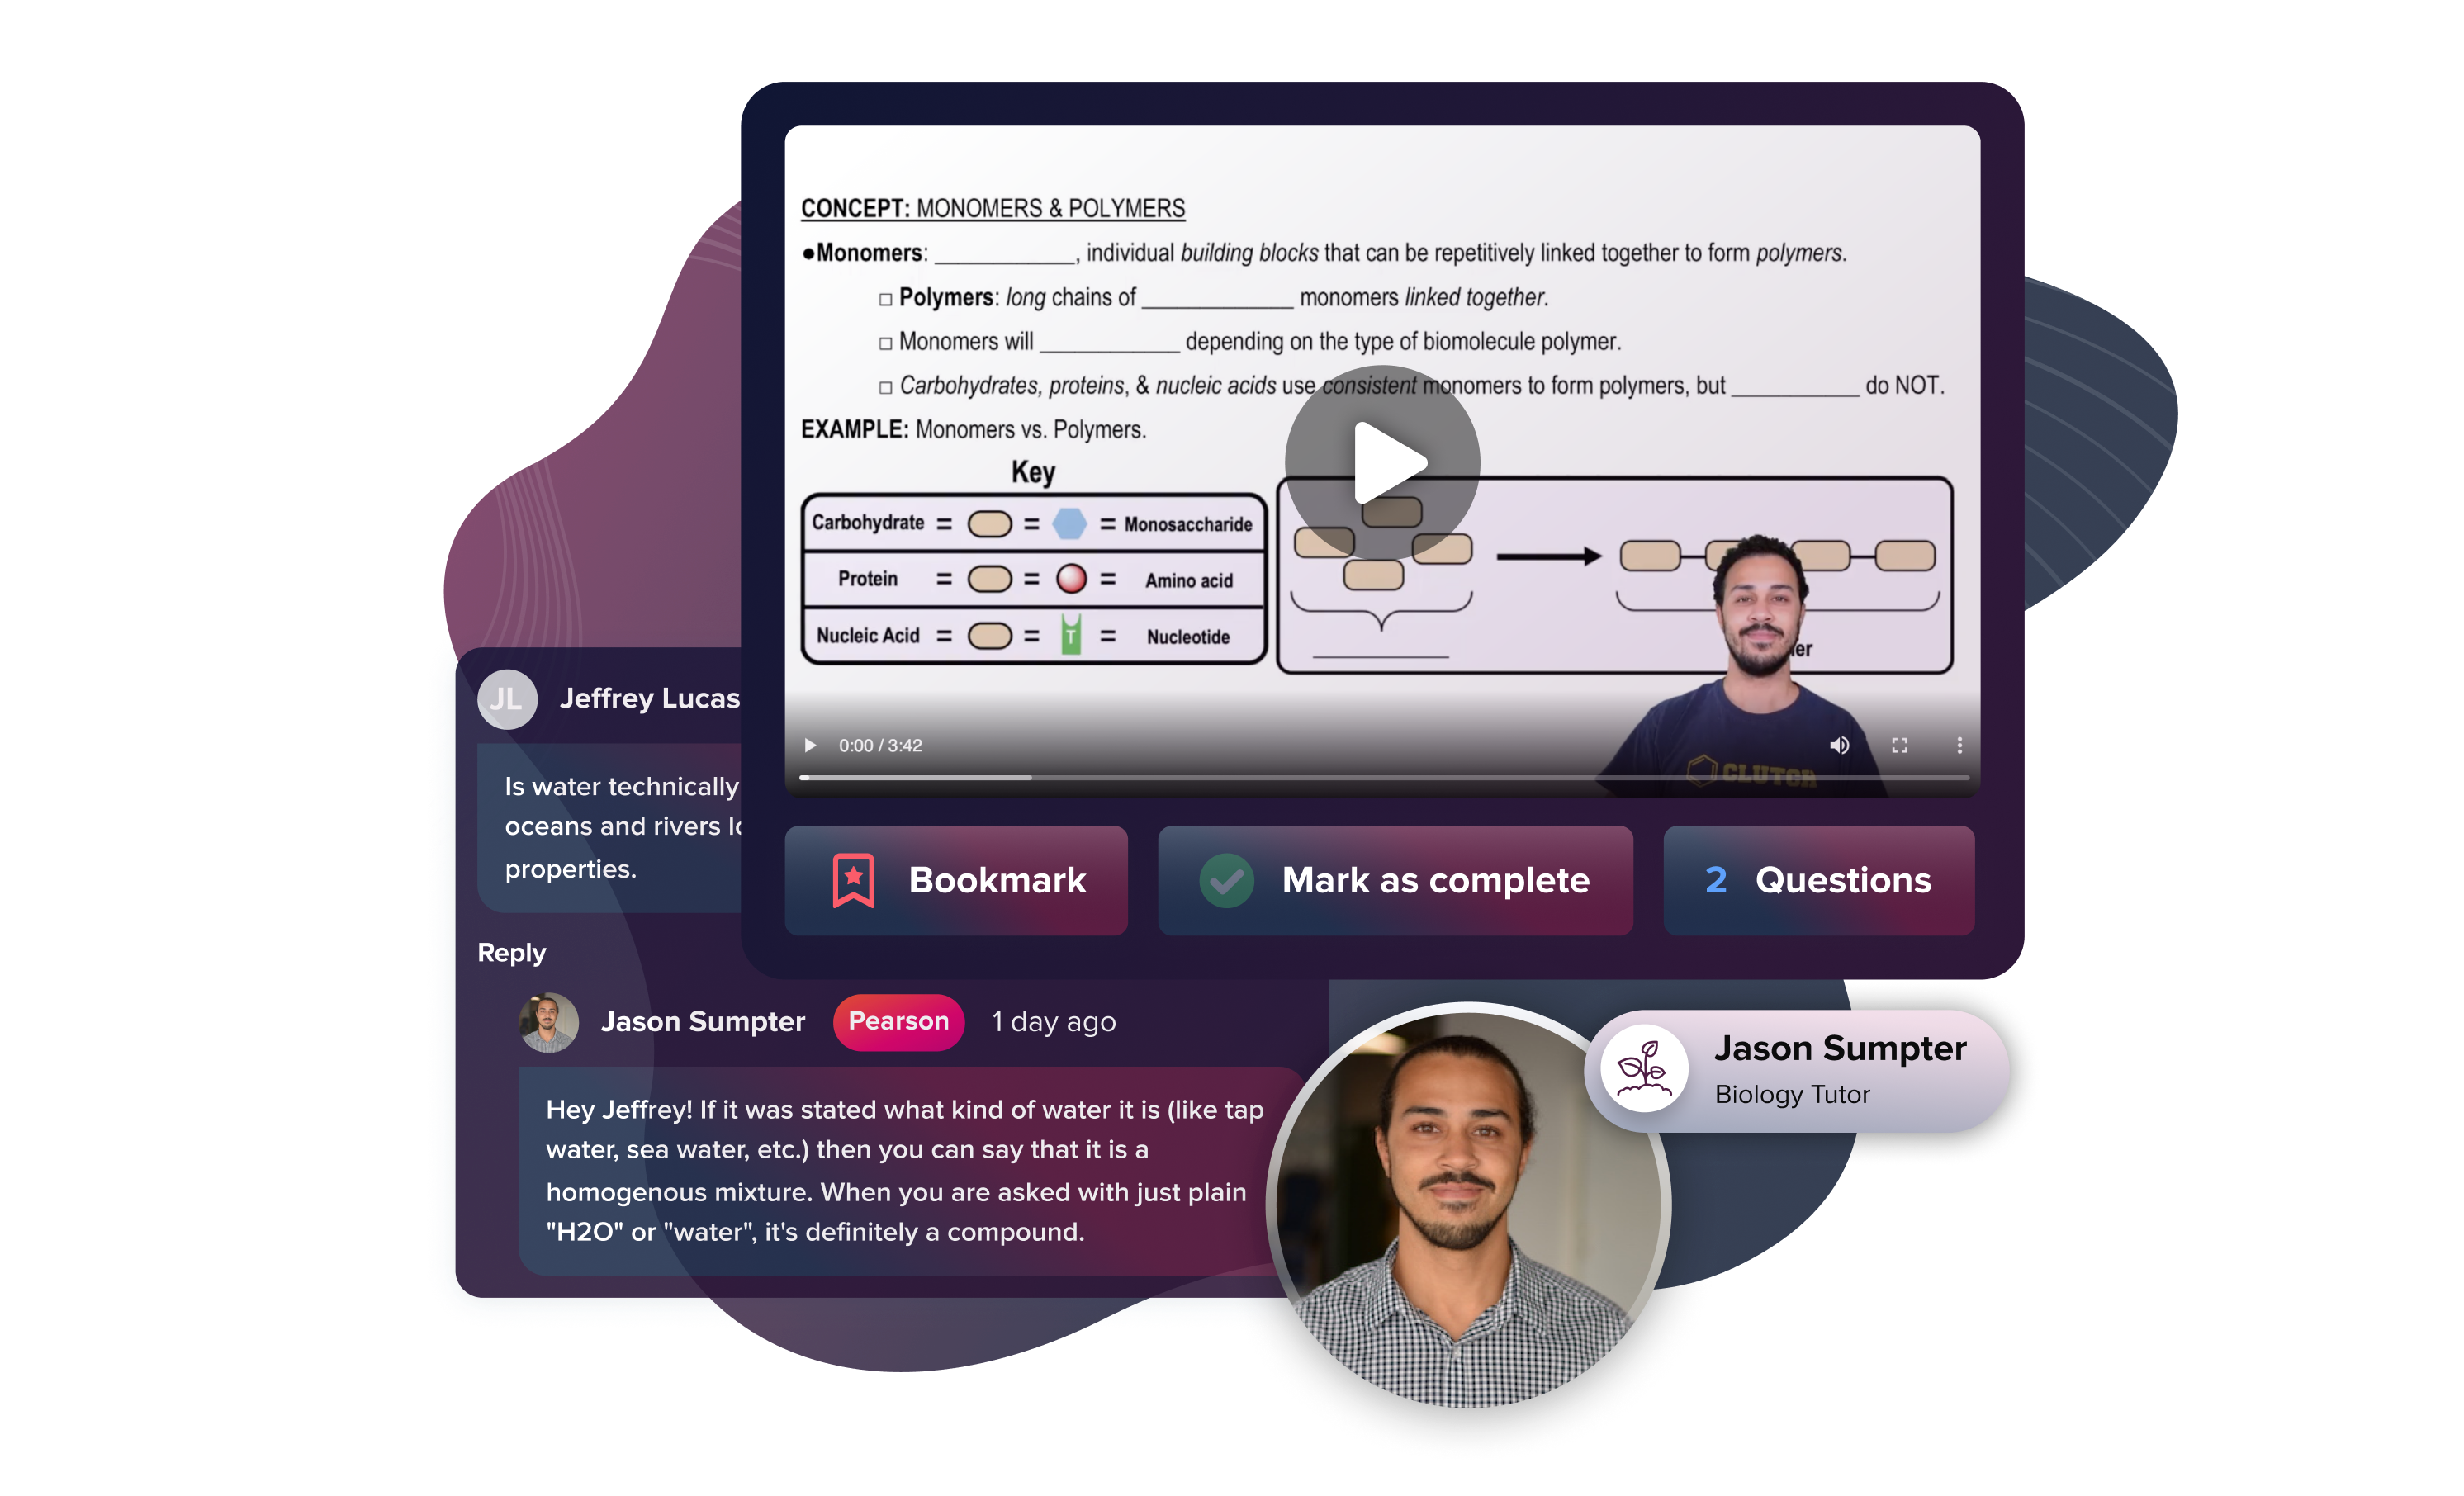
Channels is a video platform with thousands of explanations, solutions and practice problems to help you do homework and prep for exams. Videos are personalized to your course, and tutors walk you through solutions. Plus, interactive AI‑powered summaries and a social community help you better understand lessons from class.

Channels is an additional tool to help you with your studies. This means you can use Channels even if your course uses a non‑Pearson textbook.

When you choose a Channels subscription, you're signing up for a 1‑month, 3‑month or 12‑month term and you make an upfront payment for your subscription. By default, these subscriptions auto‑renew at the frequency you select during checkout.

When you purchase a Channels subscription it will last 1 month, 3 months or 12 months, depending on the plan you chose. Your subscription will automatically renew at the end of your term unless you cancel it.

We use your credit card to renew your subscription automatically. To make sure your learning is uninterrupted, please check your card details.