GO! Microsoft 365: Access 2019, 1st edition
Choose the option that's right for you
$9.99 / mo
4-month term, pay monthly or pay $39.96
Enjoy these features
- Up to 2 devices
- Exclusive offers
$14.99 / mo
4-month term, pay monthly or pay $59.96
Enjoy these features
- Up to 2 devices
- Exclusive offers
Learn more, spend less
-
Study smarter, not harder
Save time with study tools in your eTextbook
-
Watch and learn
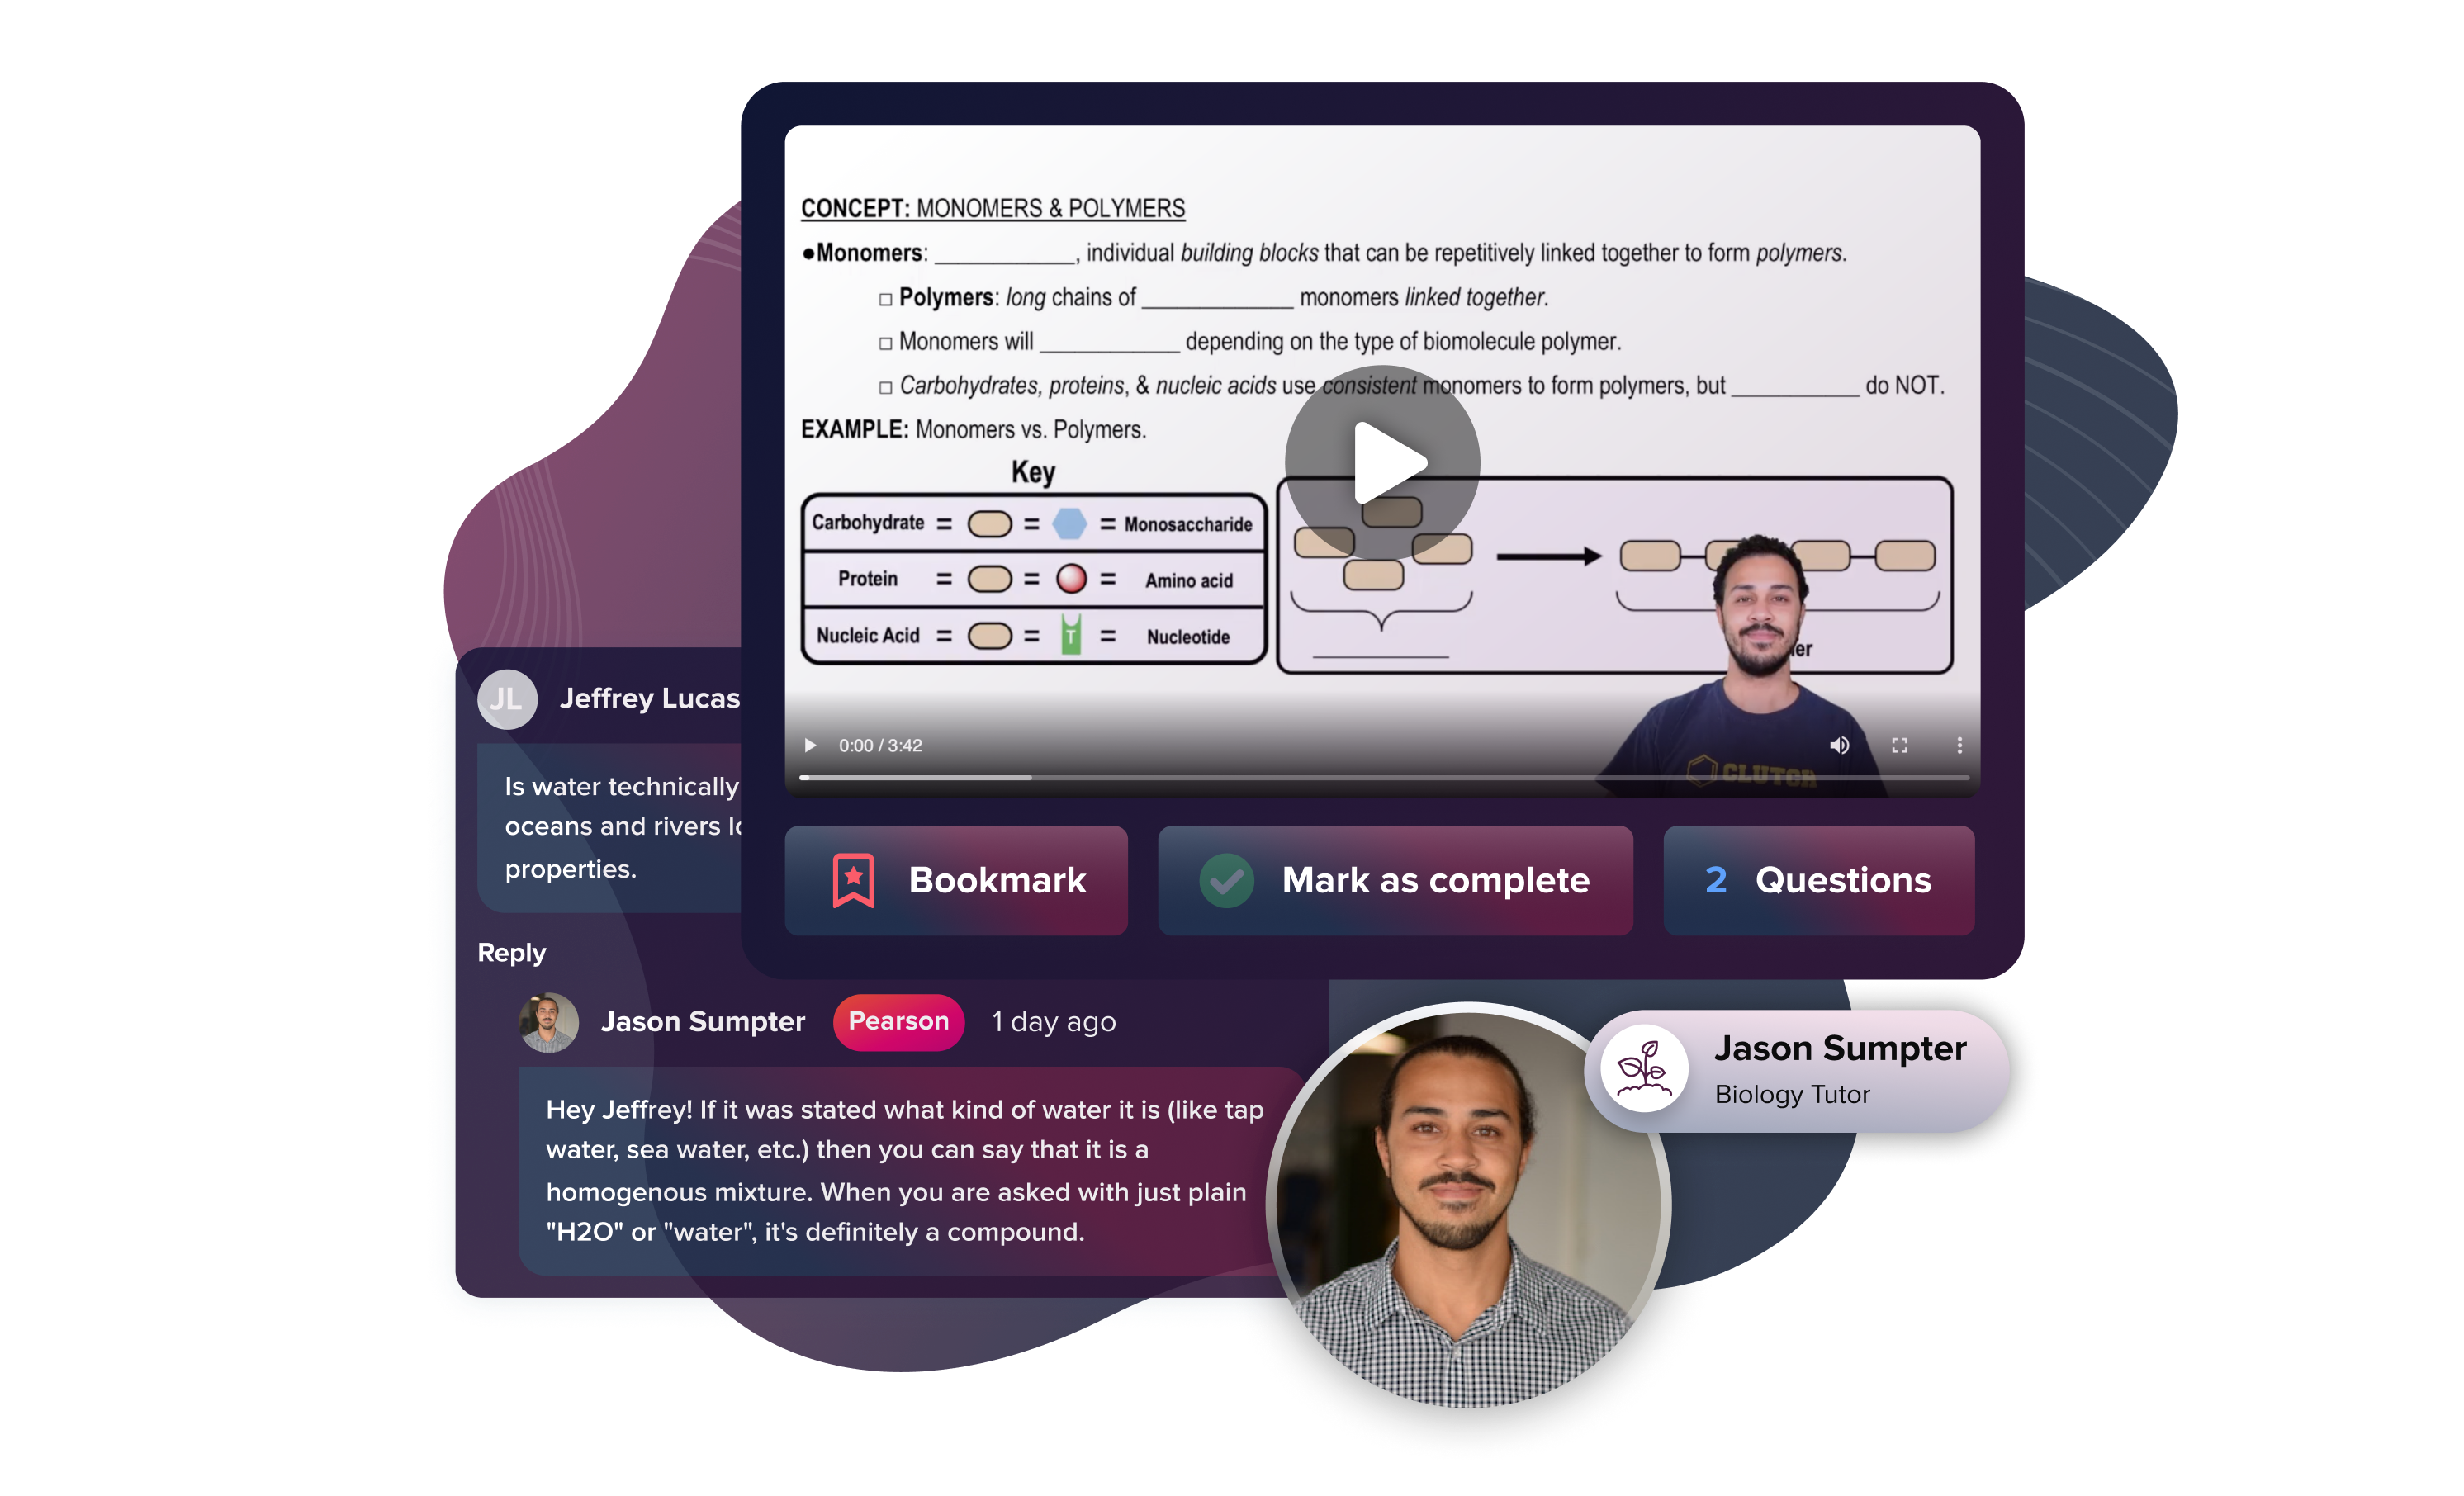
Videos & animations bring concepts to life
-
Listen on the go
Learn how you like with full eTextbook audio
-
Learn anytime, anywhere
Get the app to access your eTextbook whenever you need it
-
Make it your own
Your notes. Your highlights. Your eTextbook
Overview
GO! with Microsoft® Office 365®, Accesss™ 2019, Comprehensive uses a project-based approach to teach the basic-to-advanced features and functions of Microsoft Access.
Published by Pearson (September 18th 2020) - Copyright © 2020
ISBN-13: 9780136874591
Subject: Microsoft Office Applications
Category: GO! with Microsoft Office 365, Access 2019 Comprehensive
Table of contents
MICROSOFT OFFICE
Chapter 1: Microsoft Office Common Features and Windows 10 Features and File Management
- Explore Microsoft Office
- Create a Folder for File Storage
- Download and Extract Zipped Files and Enter, Edit, and Check the Spelling of Text in an Office Program
- Perform Office Commands and Apply Office Formatting
- Finalize an Office Document
- Use the Office Help Features
- Explore Windows 10
- Prepare to Work with Folders and Files
- Use File Explorer to Extract Zipped Files and to Display Locations, Folders, and Files
- Start Programs and Open Data Files
- Create, Rename, and Copy Files and Folders
ACCESS
Chapter 1: Getting Started with Microsoft Access 2019
- Identify Good Database Design
- Create a Table and Define Fields in a Blank Desktop Database
- Change the Structure of Tables and Add a Second Table
- Create a Query, Form, and Report
- Close a Database and Close Access
- Use a Template to Create a Database
- Organize Objects in the Navigation Pane
- Create a New Table in a Database Created with a Template
- View a Report
Chapter 2: Sort and Query a Database
- Open and Save an Existing Database
- Create Table Relationships
- Sort Records in a Table
- Create a Query in Design View
- Create a New Query From an Existing Query
- Sort Query Results
- Specify Criteria in a Query
- Specify Numeric Criteria in a Query
- Use Compound Criteria in a Query
- Create a Query Based on More Than One Table
- Use Wildcards in a Query
- Create Calculated Fields in a Query
- Calculate Statistics and Group Data in a Query
- Create a Crosstab Query
- Create a Parameter Query
Chapter 3: Forms, Filters, and Reports
- Create and Use a Form to Add and Delete Records
- Filter Records
- Create a Form by Using the Form Wizard
- Modify a Form in Layout View and in Design View
- Create a Report by Using the Report Tool and Modify the Report in Layout View
- Create a Report by Using the Report Wizard
- Modify the Design of a Report
- Keep Grouped Data Together in a Printed Report
Chapter 4: Enhancing Tables
- Manage Existing Tables
- Modify Existing Tables
- Change Data Types
- Attach Files to Records
- Create a Table in Design View
- Create a Lookup Field
- Set Field Properties
- Create Data Validation Rules and Validation Text
Chapter 5: Enhancing Queries
- Create Calculated Fields in a Query
- Use Aggregate Functions in a Query
- Create a Crosstab Query
- Find Duplicate and Unmatched Records
- Create a Parameter Query
- Create a Make Table Query
- Create an Append Query
- Create a Delete Query
- Create an Update Query
- Modify the Join Type
Chapter 6: Customizing Forms and Reports Microsoft Access 2019
- Create a Form in Design View
- Change and Add Controls
- Format a Form
- Make a Form User Friendly
- Create a Report Based on a Query Using a Wizard
- Create a Report in Design View
- Add Controls to a Report
- Group, Sort, and Total Records in Design View
Chapter 7: Creating Advanced Forms and Reports
- Create a Split Form
- Create a Form and a Subform
- Create a Multi-Page Form
- Create and Modify a Subreport
- Create a Report Based on a Parameter Query
- Create an Alphabetic Index
Chapter 8: Creating Macros
- Create a Standalone Macro with One Action
- Add Multiple Actions to a Standalone Macro
- Create an Embedded Macro
- Print Macro Details
- Create a Macro Group
- Associate a Macro with an Event
- Create a Data Macro
Chapter 9: Integrating Access with Other Applications
- Import Data from a Word Table
- Import Data from an Excel Workbook
- Insert an Excel Chart into a Report
- Import from and Link to Another Access Database
- Export Data to Word
- Use Mail Merge to Integrate Access and Word
- Export Data to Excel
- Export Data to an HTML File and an XML File
Chapter 10: Administering Databases and Writing SQL Statements
- Create a Navigation Form
- Use Microsoft Access Analysis Tools
- Modify Access Views and Behaviors
- Use the Database Splitter
- Encrypt and Decrypt Databases
- Create a Locked Database (ACCDE File)
- Modify a Query in SQL View
- Create a Query in SQL View
- Create a Union Query Using SQL
- Create Calculated Fields and SQL Aggregate Functions
Your questions answered
Choose from one eTextbook or over 1,500 eTextbooks and study tools, all in one place, for one low monthly subscription. A Single plan includes the use of 1 eTextbook title and study tools. A Multi plan gives you access to more than 1,500 eTextbook titles and study tools. Plus, with the app, put textbooks in your pocket and learn wherever.
Make the most of your study time with offline access, enhanced search, notes and flashcards — to get organized, get the work done quicker and get results.
A Pearson eTextbook is an easy-to-use digital version of the book. You can add notes and highlights, plus learn on the go with the Pearson+ mobile app. Listen on the go with the audiobook feature, available for most titles.
When you choose a plan, you're signing up for a 4-month 'term'. You can opt to make a one-time payment for the initial 4-month term or pay monthly. If you opt for monthly payments, we will charge your payment method each month until your 4-month term has ended. You can turn on auto-renew in My account at any time to continue your subscription before your 4-month term has ended.
When you purchase a Pearson+ subscription, it will last 4 months. Before your initial 4-month term ends, you can extend your subscription by turning auto-renew on in My account.
If you turn auto-renew on, we’ll automatically renew your subscription and charge you every month until you turn off auto-renew. If you made a one-time payment for your initial 4-month term, you’ll now pay monthly.
To avoid the next payment charge, make sure you turn auto renewal off 1 day before the auto renewal date. You can subscribe again after auto-renew has been turned off by purchasing another Pearson+ subscription. We use your credit card to renew your subscription automatically. To make sure your learning is uninterrupted, please check your card details before your first monthly payment.
With a Multi Pearson+ subscription plan, you can download up to 10 titles from your library on each of your authorized smartphone and tablet devices every month.
When you’re using your Multi Pearson+ subscription plan in a browser, you can select and read from as many titles as you like.